Zapier Destination
Destination Info
- Accepts Page, and Track calls
- Refer to it as Zapier in the Integrations object
Components
- Server
Connection Modes 
| Device-mode | Cloud-mode |
|---|---|
 Web Web |
 Web Web |
| Mobile |
Mobile |
| Server |
Server |
Zapier empowers businesses to create processes and systems that let computers do what they do best - automating information transfer, allowing humans to be more productive.
Getting Started
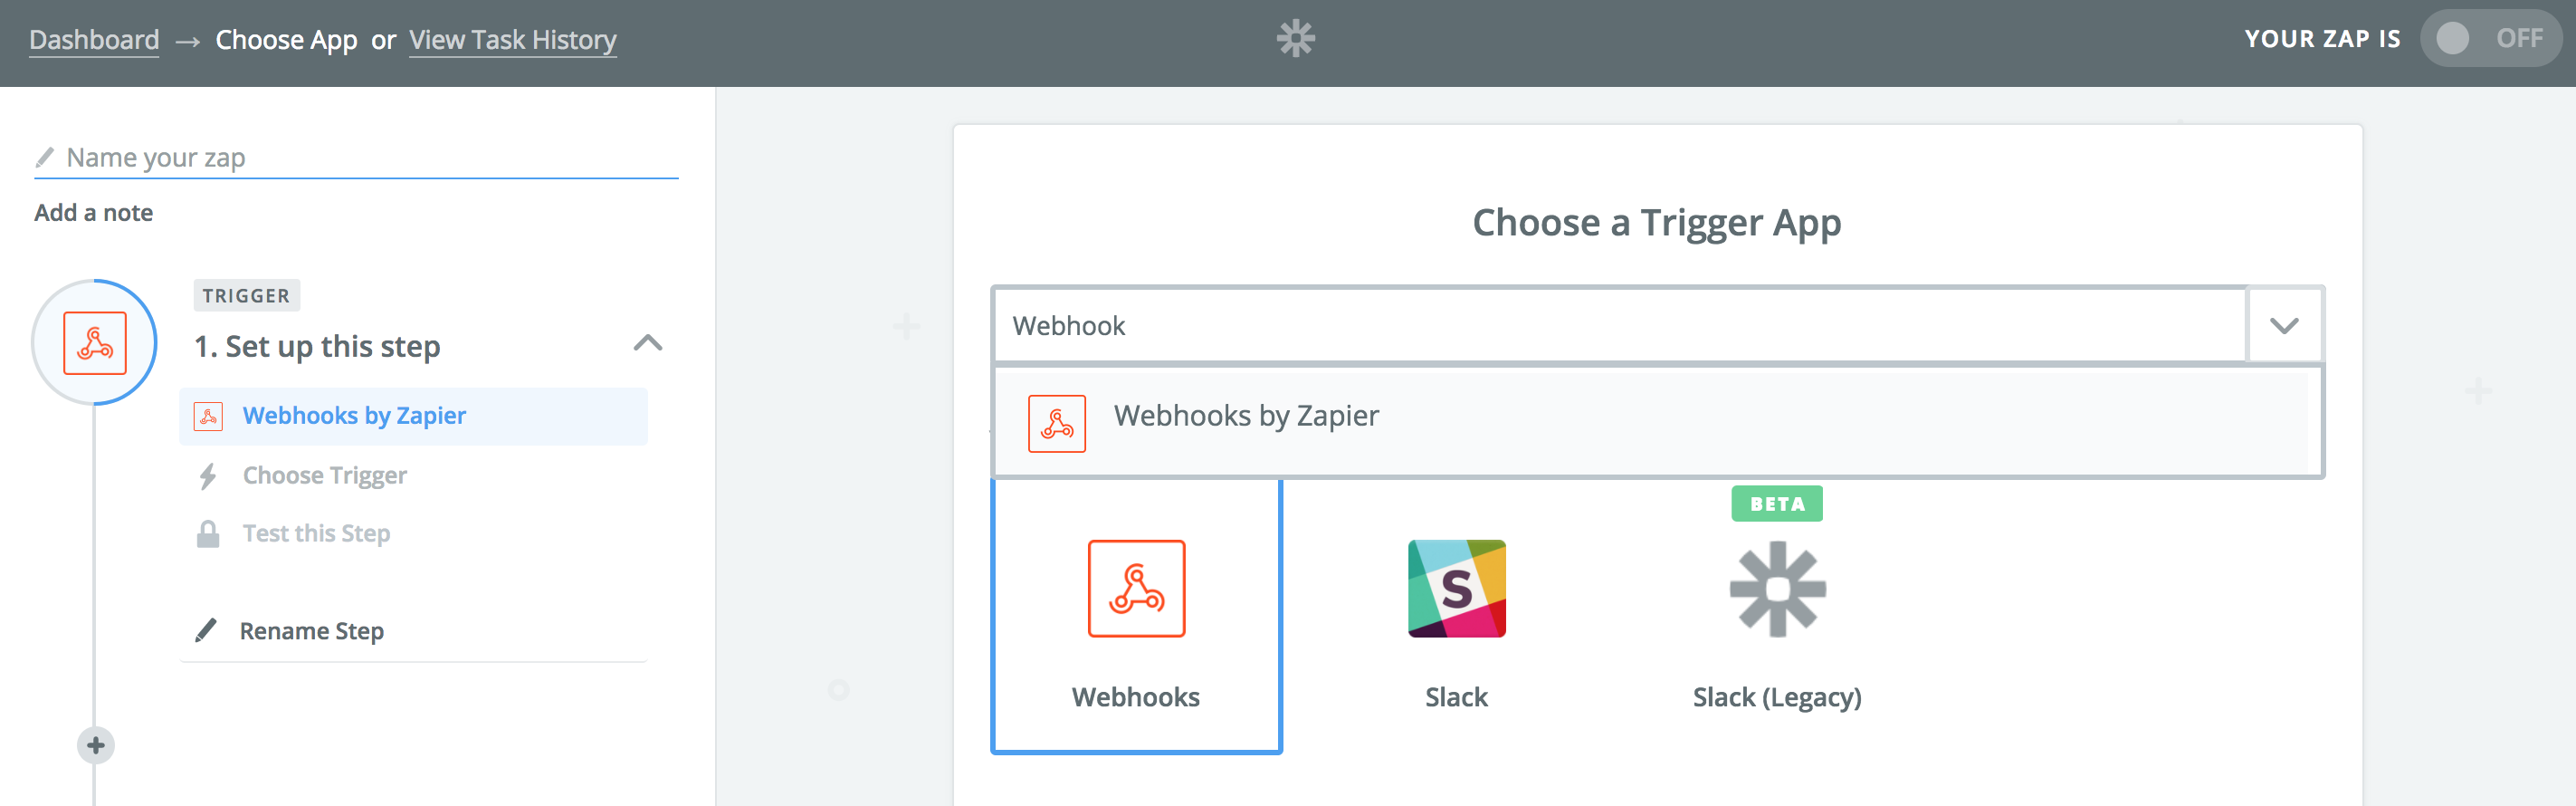
- Navigate to your Zapier dashboard and select “Make A Zap” - you’ll need at least one Zap so you can tell Segment where to route data later on.
-
Search “Webhooks”, then select “Catch Raw Hook” (Segment POSTs raw data to Zapier using our destination).
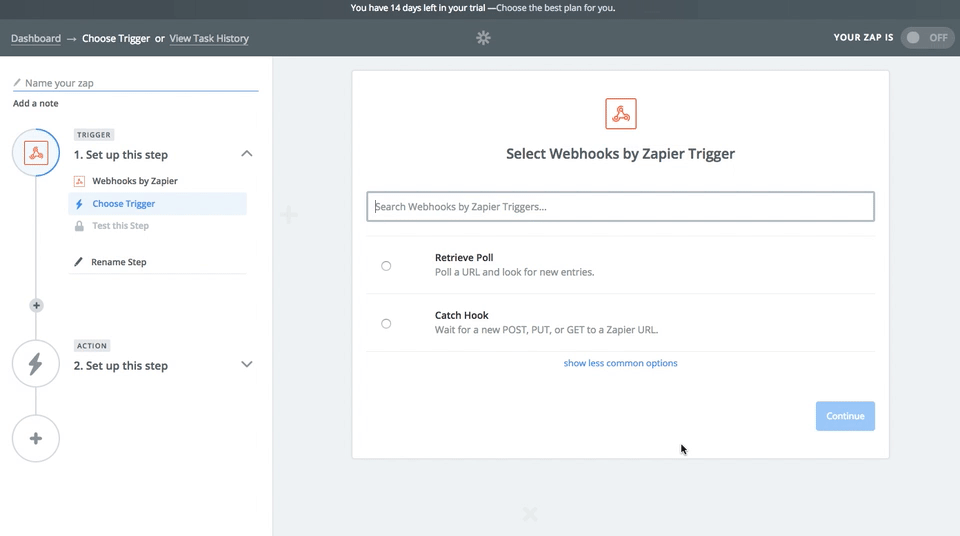
- Complete the remaining Webhook set up steps, and Zapier will present you with a custom Webhook URL.
- Repeat step 3 to create as many Webhook URLs as you like.
-
Remember that each Zapier “trigger” should be connected to an “Action” - i.e. posting the Webhook data to another downstream tool, such as Slack.
- From your Segment UI’s Destinations page click on “Add Destination”.
- Search for “Zapier” in the Catalog, select it, and choose which of your sources to connect the destination to.
- Add your custom Webhook URLs to your destination settings as desired.
- Starting sending data!
Page / Screen
Segment doesn’t perform any transformations or mappings on data you send to Zapier - we send raw payloads. When you specify a “Zap” URL, Segment will send all your page/screen events to that Zapier URL. If you also specify any “Page/Screen Zaps” under “Optional Settings” in your Segment settings UI, Segment will send these named page/screen events to the specific Webhook URL instead of to the “Zap” URL.
Track
When you specify a “Zap” URL, Segment will send all your track events to that Zapier URL. Leave this setting blank if you do not wish to send all track events to Zapier. As with page/screen events, Segment does not perform any transformations or mappings. If you also specify any “Event Zaps”, Segment will send these events to the specific Webhook URL instead of to the “Zap” URL.
Engage
You can send computed traits and audiences generated using Engage to this destination as a user property. To learn more about Engage, schedule a demo.
For user-property destinations, an identify call is sent to the destination for each user being added and removed. The property name is the snake_cased version of the audience name, with a true/false value to indicate membership. For example, when a user first completes an order in the last 30 days, Engage sends an Identify call with the property order_completed_last_30days: true. When the user no longer satisfies this condition (for example, it’s been more than 30 days since their last order), Engage sets that value to false.
When you first create an audience, Engage sends an Identify call for every user in that audience. Later audience syncs only send updates for users whose membership has changed since the last sync.
Real-time to batch destination sync frequency
Real-time audience syncs to Zapier may take six or more hours for the initial sync to complete. Upon completion, a sync frequency of two to three hours is expected.
Settings
Segment lets you change these destination settings from the Segment app without having to touch any code.
| Setting | Description |
|---|---|
| Zap | string. The default Zap URL events and page/screen should be sent to. |
| Page/Screen Zaps | text-map, defaults to {}. Enter the Zaps you want page/screen events to go to. Enter an page/screen name on the left, and a Zap URL on the right. |
| Event Zaps | text-map, defaults to {}. Enter the Zaps you want track events to go to. Enter an event name on the left, and a Zap URL on the right. |
This page was last modified: 27 Oct 2023
Need support?
Questions? Problems? Need more info? Contact Segment Support for assistance!