SatisMeter Destination
Destination Info
- Accepts Group, Identify, and Track calls
- Refer to it as SatisMeter in the Integrations object
Components
Connection Modes 
| Device-mode | Cloud-mode |
|---|---|
 Web Web |
 Web Web |
| Mobile |
Mobile |
| Server |
Server |
Our SatisMeter destination code is all open-source on GitHub if you want to check it out.
See SatisMeter in action on their sample app.
After you enable SatisMeter in Segment, the SatisMeter NPS survey will be shown to your customers.
Features
With SatisMeter you can:
- gather NPS and customer feedback straight from your web app,
- send gathered customer feedback back to Segment which distributes it to other customer analytics tools,
- get the feedback directly into your Slack channel,
- customize SatisMeter survey to comply with your design,
- send email surveys to users that don’t answer the in-app survey,
- ask every user in their own language.
Get Started
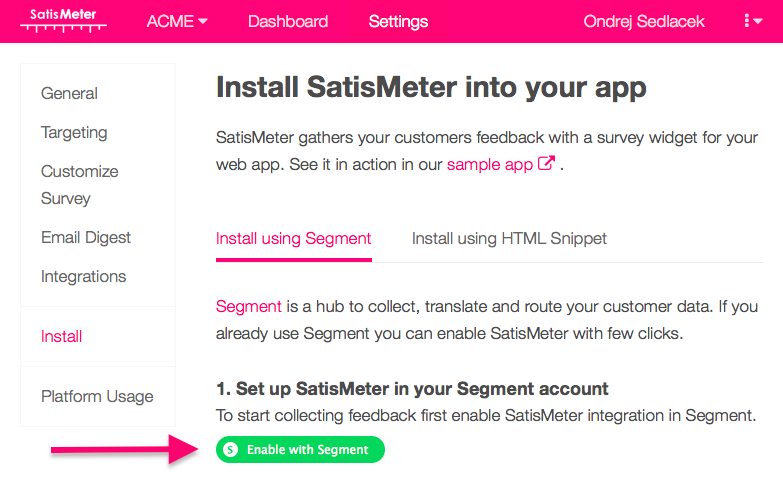
To get started you need to sign up to SatisMeter, and click the green button “Enable with Segment”. This will link your SatisMeter project with your Segment project and enable the destination.
Identify
Users need to be identified in order to target surveys at the right time.
Client-side destination
Identifying of users is done by calling an analytics.identify method using the analytics.js library. The recommended traits are name, email and createdAt, however SatisMeter will collect any other traits you’d like to see next to feedback from your customers.
Here’s an example of the identify call:
analytics.identify('007', {
 name: 'James Bond',
 email: '007@sis.gov.uk',
 createdAt: '2015-06-16T09:19:47.155Z'
});
It is important to send the createdAt trait which tells us how long is the customer using your service. This way we can show the survey to people that already have some experience with your service.
Server-side destination
You can also send additional traits you don’t have available on client-side using one of the server libraries provided by Segment. These traits will be added to the collected responses from your users.
Sending data from SatisMeter back to Segment (optional)
We can send completed survey responses to Segment which will distribute it to all your other Segment destinations.
Segment write key
You should copy the Segment write key (Project settings / API KEYS / WRITE KEY) and paste it into SatisMeter (Integrations / Segment).
The write key looks like this: 8lnHXS8z3lkCyNkFlggIvd59M2BXdSHn
SatisMeter traits and events
When a user completes a survey the following traits are added to the user:
NPS_rating: NPS rating (0-10)NPS_comment: verbal feedback that user leftNPS_date: date when the NPS survey was filled out
We also record the following events
Viewed NPS Survey: The survey was shown to the userClosed NPS Survey: User closed the survey without filling itAnswered NPS Survey: User filled the rating of NPS SurveyCompleted NPS Survey: User completed the survey (including the follow-up question)
Troubleshooting
The SatisMeter widget does not show up
Make sure you are sending an analytics.identify() call when the page is loaded. If you are calling this method, make sure SatisMeter survey has a reason to be displayed. The widget will not display unless the customer fits your targeting settings.
The SatisMeter widget shows up right after sign-up
It is important to send the createdAt trait to analytics.identify() method. Without this SatisMeter widget will be shown right after sign-up to every user that fits your other targeting settings.
You can change the targeting settings in Targeting section of SatisMeter settings.
Engage
You can send computed traits and audiences generated using Engage to this destination as a user property. To learn more about Engage, schedule a demo.
For user-property destinations, an identify call is sent to the destination for each user being added and removed. The property name is the snake_cased version of the audience name, with a true/false value to indicate membership. For example, when a user first completes an order in the last 30 days, Engage sends an Identify call with the property order_completed_last_30days: true. When the user no longer satisfies this condition (for example, it’s been more than 30 days since their last order), Engage sets that value to false.
When you first create an audience, Engage sends an Identify call for every user in that audience. Later audience syncs only send updates for users whose membership has changed since the last sync.
Real-time to batch destination sync frequency
Real-time audience syncs to SatisMeter may take six or more hours for the initial sync to complete. Upon completion, a sync frequency of two to three hours is expected.
Settings
Segment lets you change these destination settings from the Segment app without having to touch any code.
| Setting | Description |
|---|---|
| API Key | string. To connect SatisMeter with Segment first create a project in your Satismeter dashboard and then navigate to Settings / Install and click the green button ‘Enable with Segment’. You can also manually copy Settings / Integrations / API keys / Write key and use it as the api key. The api key should look like urC2RuBlt7utBCzu. |
| Token | string. This is a legacy setting, and now known as the apiKey. To connect SatisMeter with Segment first create a project in your Satismeter dashboard and then navigate to Settings / Install and click the green button ‘Enable with Segment’. You can also manually copy Settings / Integrations / API keys / Write key and use it as the token. The tokeny should look like urC2RuBlt7utBCzu. |
This page was last modified: 27 Oct 2023
Need support?
Questions? Problems? Need more info? Contact Segment Support for assistance!