Hosting Fleet on AWS EKS
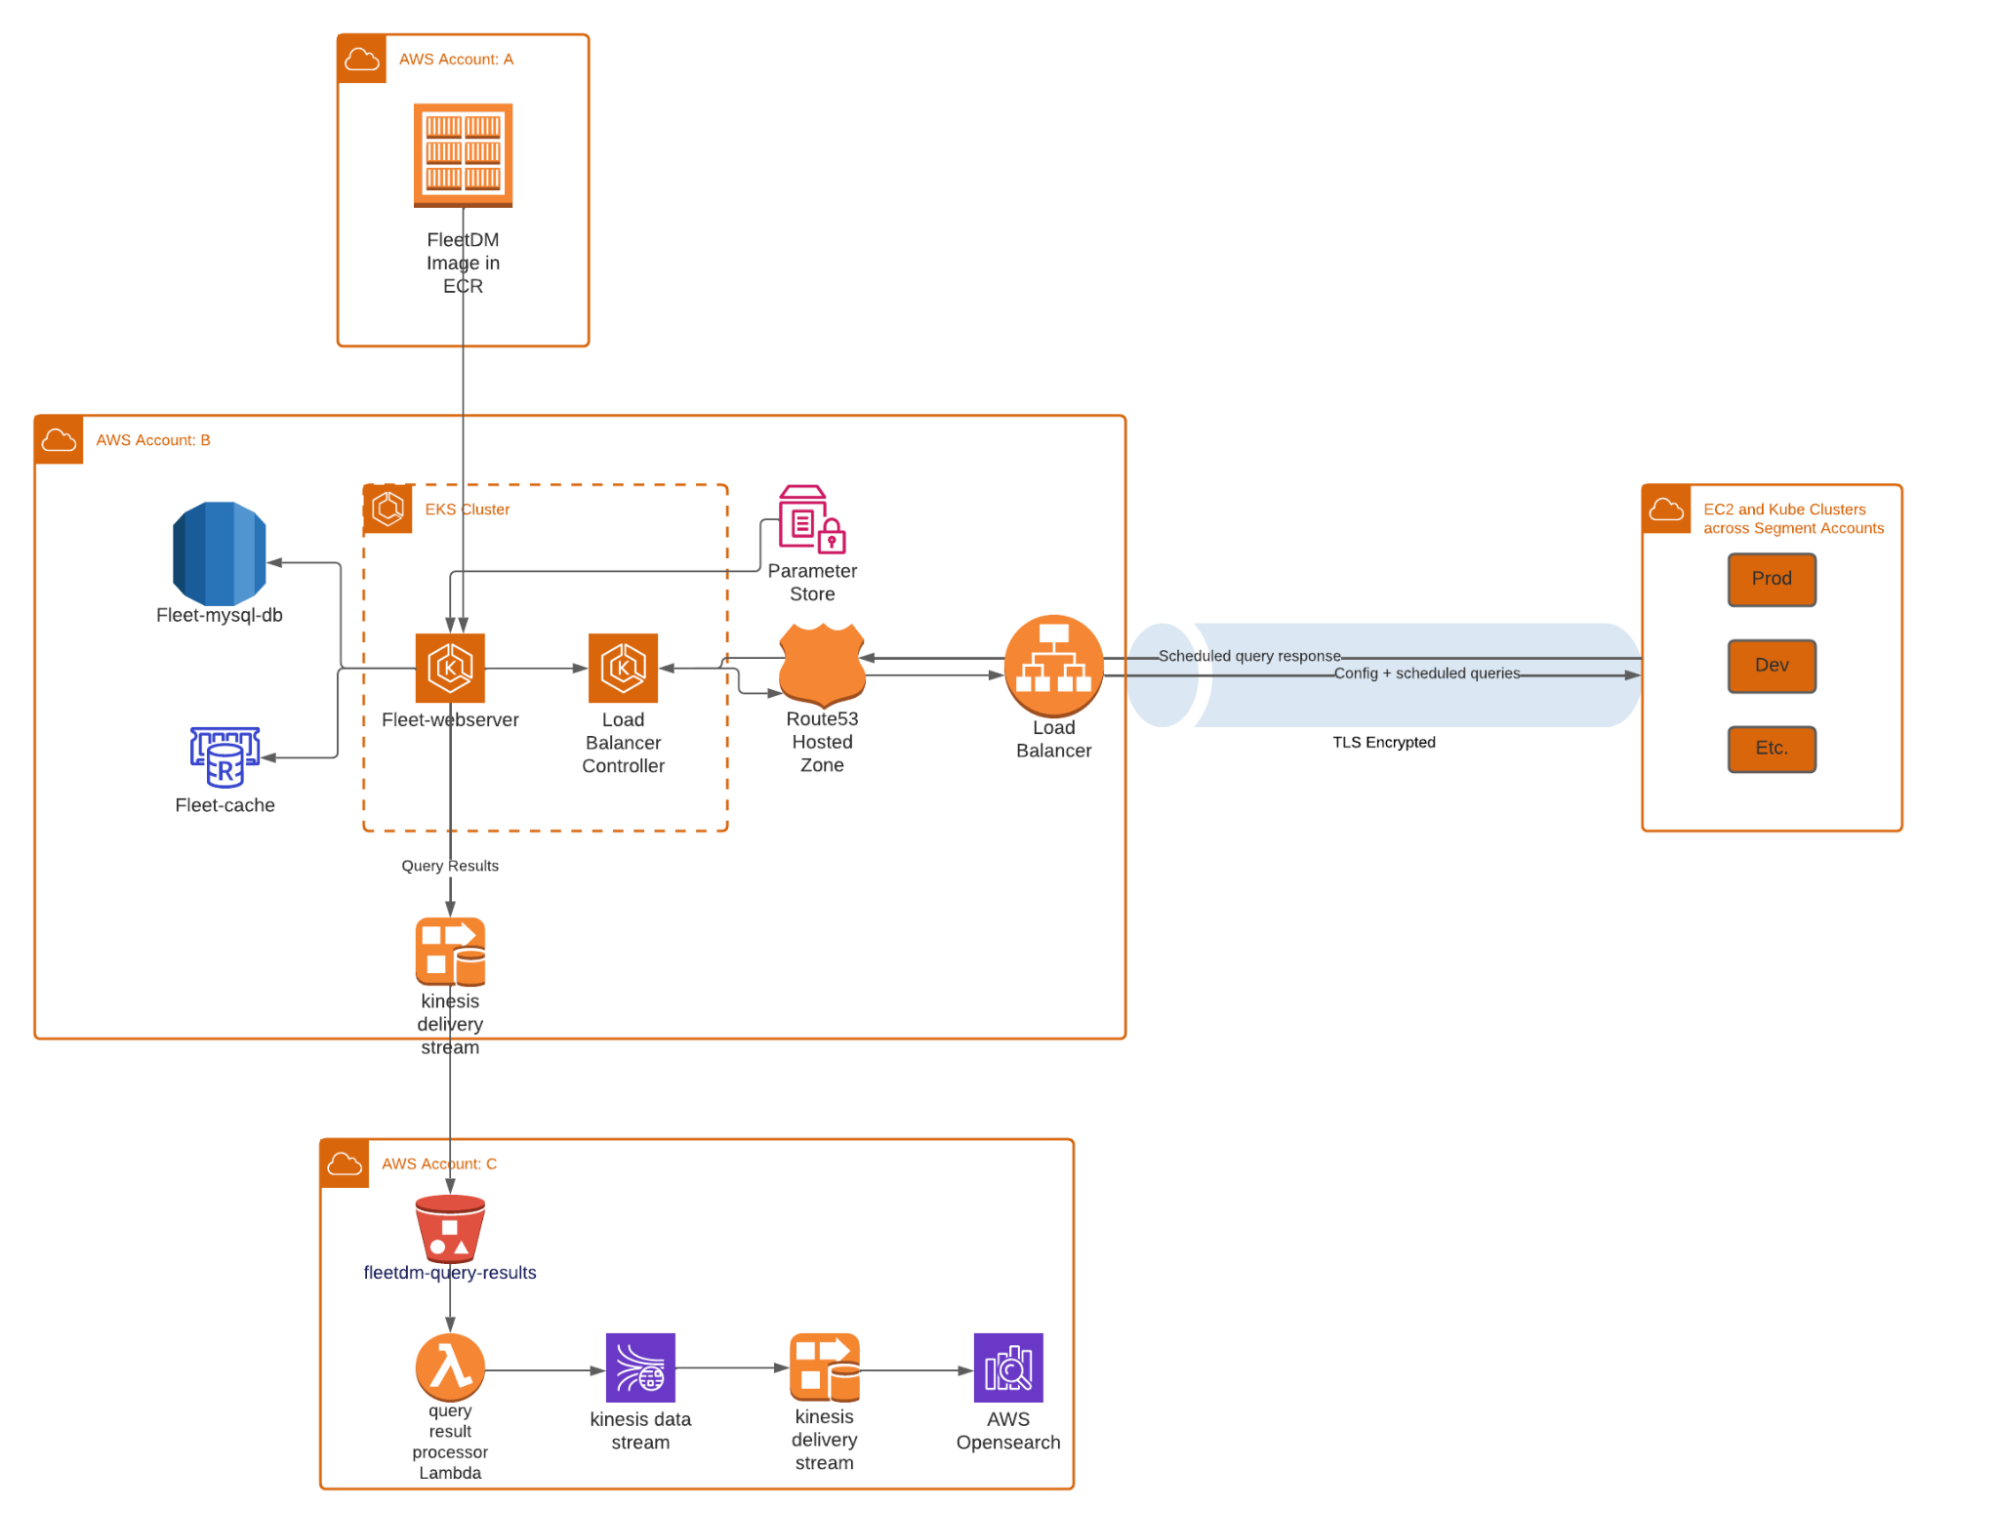
We detail how to host Fleet on an EKS cluster and send scheduled query logs to an AWS Opensource destination entirely created and managed as code.
Apr 6, 2022
By Prima Virani
Endpoint Monitoring and visibility is an essential building block for the success of any Detection & Response team. At Segment our tools of choice for Endpoint monitoring are Osquery paired with Fleet for orchestration.
Osquery exposes an operating system as a high-performance relational database that allows you to write SQL-based queries to explore operating system data. It runs as a simple agent and it supports OSx, Windows or any of the Linux operating systems. This functionality is very powerful in order to be able to quickly get data about a host’s activity during a security investigation or pro-actively run queries on it at a regular interval that lets security teams monitor for malicious activities on a host.
Fleet is the most commonly used open-source Osquery manager across Security and Compliance teams in the world. Once the device/s running Osquery on them are enrolled, Fleet enables us to run queries through the Osquery agent across 100,000+ servers, containers, and laptops at scale.
There are many ways of hosting Fleet in your environment. At Segment, we decided to host it entirely as code on an EKS cluster, which is a new Amazon Web Services offering that makes it easy to run Kubernetes at scale. This post will show you how to host Fleet on an EKS cluster and send scheduled query logs to an AWS Opensource destination entirely created and managed as code.

Pre-requisites
Fleet has two major infrastructure dependencies - a MySQL Database and a Redis Cache. We set up both these pieces of infrastructure using Terraform. In this post I will be able to share some of those configurations but not all. That’s because at Segment our wonderful Tooling team has abstracted away a lot of commonly used infrastructure modules such that we have many default standard settings applied to our infrastructure in terms of setting up the relevant Security Groups and more.
Note that the configurations below aren't copy-pastable. You will be able to reuse some components and settings as-is but not all of them. For the purpose of this guide we are going to show a bare-bones minimal configuration for each piece of infrastructure that you can elaborate on using a variety of additional terraform modules as you see fit for your environment.
Create a VPC
Amazon enables us to build a virtual network in the AWS cloud. We can define our own network space, and control how our network and the resources inside it interact with each other. Creating a VPC is an essential first step because every object we create in the subsequent steps will be a part of this VPC. Ideally we’d want to create a VPC with a public and private subnet.
Set up a MySQL Database in RDS
The standard approach on setting this up in the AWS ecosystem is to set up a MySQL database in RDS and set up a Redis Cluster in AWS Elasticache. Here is how you can create a basic MySQL DB with a few lines of code using Terraform:
resource "aws_db_instance" "default" {
  allocated_storage    = 50 #GB
  engine               = "mysql"
  engine_version       = "8.0.x"
  instance_class       = "db.m6g.large"
  name                 = "fleetdatabase"
  username             = "<some_username>"
  password             = <reference_to_parameter_store>
  skip_final_snapshot  = true
}
It’s best practice to store the password either in Parameter Store / KMS or any equivalent secure credential storage mechanism.
Set up a Redis Cache Instance in Elasticache
Here is how you can set up a basic Redis cluster:
resource "aws_elasticache_replication_group" "example" {
  automatic_failover_enabled  = true
  preferred_cache_cluster_azs = ["us-east-1a", "us-east-1b"]
  replication_group_id        = "fleetcache"
  description                 = "fleetcache”
  node_type                   = "cache.m5.large"
  number_cache_clusters       = 2
  port                        = 6379
}
A Major Gotcha to Avoid
Please DO NOT set an authentication token when setting up your Redis cluster in AWS or else your app will not be set up at all. Fleet does not yet support the Redis connection over TLS. However, AWS supports an auth token setup only over TLS. So, if you set up the auth token later when you try to set up the Fleet Web App it will be unable to connect to Redis and your App will never be up and running.
This is a lesson we learnt in a very hard way because our Web App would deploy only to go in a crash loop later and there were no logs or any sort of indication suggesting why the App was constantly crashing. It took us a long time to debug this error and ultimately we found the root cause to be the Redis connection failure.
Set up an EKS cluster
A large portion of the EKS Platform setup has been standardized and abstracted away by the Tooling team at Segment such that any engineer can set up an EKS cluster with just a few input variables. This setup involves creation of an EKS cluster, a Kube drainer, a few namespaces as well as the CI/CD integration setup. The entire setup would be out of scope for the purpose of this post but I can show you roughly what the configuration for the Cluster looks like:
module "fleetdm_platform" {
  source                  = "<internal_module>"
  account_name            = local.account_name
  cell                    = local.cell
  environment             = local.environment
  kubernetes_version      = "1.21"
  main_instance_type      = "m5.large"
  main_min_capacity       = 1
  main_max_capacity       = 6
  name                    = "fleetdm"
  parameter_store_key = <parameter_store_key>
  subnet_ids              = data.terraform_remote_state.network.outputs.private_subnets
}
You can set up a simple Cluster with EKSCtl using the following command and Flags:
eksctl create cluster \
--name fleetdm \
--version 1.16 \
--region us-west-2 \
--nodegroup-name standard-workers \
--node-type m5.large \
--nodes 3 \
--nodes-min 1 \
--nodes-max 4 \
--managed
Set up the ALB (Application Load Balancer)
The Application Load Balancer is how various endpoints connect to the Fleet web server. ALB serves as the single point of contact for all the endpoints and smartly distributes incoming application traffic across multiple nodes. Here is a rough example of how we have set it up at Segment:
module "fleetdm_alb" {
  source      = "<internal-module>"
  app         = "fleetdm-webserver"
  cluster     = local.cluster_name
  environment = local.environment
  vpc_id         = <VPC_ID_from_first_step>
  public_subnets = <Public_Subnets_from_first_step>
  certificate_arn = <Certificate_ARN>
  path_patterns   = ["*"]
}
Optional: A custom Domain and Route53 Hosted Zone
If you want to host Fleet on a custom Domain you have the option to get your domain registered and set up the Route53 Hosted Zone. Make sure to add a CNAME record to connect your newly registered domain with your ALB created in the step above in order to successfully enable the ingress/egress traffic on the Fleet cluster.
Fleet App Deployment
At Segment we have a standardized central repo for all our Docker images. Here is an example of what the image can look like. In this example you can see that along with Fleet and FleetCTL we are also installing a Binary called ‘Chamber’. Chamber is in fact a secret management tool built at Segment and open sourced. We use Chamber for secrets management during the app installation.
FROM segment/chamber:2.10.6 as chamber
FROM fleetdm/fleet:v4.9.1 as fleet
FROM fleetdm/fleetctl:v4.9.1 as fleetctl
FROM alpine:3.14.2
RUN apk --update add ca-certificates
RUN apk add curl
# Create FleetDM group and user
RUN addgroup -S fleet && adduser -S fleet -G fleet
# Add Chamber Binary
COPY --from=chamber /chamber /usr/local/bin/chamber
# Add Fleet Binary
COPY --from=fleet /usr/bin/ /usr/bin/
COPY --from=fleetctl /usr/bin /usr/bin/
USER fleet
At Segment we deployed this image to the EKS Cluster using an internal tool. However, you can also deploy it with kubectl using a config file with the following command:
kubectl apply -f <your_config_file_path>
Here is what the config file can look like:
apiVersion: apps/v1beta2
kind: Deployment
metadata:
name: fleetdm-webserver
labels:
app: fleet-webserver
spec:
replicas: 2
selector:
matchLabels:
app: fleetdm-webserver
template:
metadata:
labels:
app: fleetdm-webserver
spec:
containers:
- name: fleet-webserver
# The image can be either pulled from Docker Registry OR
# Can be reference to the image you created above in your internal registry
image: fleetdm/fleet:v4.12.0
# load stored secrets from Chamber and auto-set them as environment variables
command: ["chamber", "exec", "fleet", "--", "fleet", "serve"]
ports:
- containerPort: <port_of_your_choice>
env:
- name: FLEET_MYSQL_ADDRESS
value: <your_mysql_db>.rds.amazonaws.com:3306
- name: FLEET_MYSQL_DATABASE
value: <your_db_name>
- name: FLEET_REDIS_ADDRESS
value: <your_redis_instance>.cache.amazonaws.com:6379
# You may not need this if you have appropriate ALB setup
- name: FLEET_SERVER_TLS
value: "false"
# Useful in case you hit errors
- name: FLEET_LOGGING_DEBUG
value: "true"
- name: FLEET_SERVER_ADDRESS
value: "0.0.0.0:<port_of_your_choice>"
Optional: Set up query result forwarding
Once the cluster is up and running and you have successfully enrolled a few hosts in it you can start thinking about where you might want to forward your scheduled query results. It is a standard practice to forward these results to your centralized logging ecosystem in order to analyze them further and set up alerting on top of it.
At the moment Fleet lets you enable log forwarding to any of the following destinations:
Filesystem (Default)
Firehose
Snowflake
Splunk
Kinesis
Lambda
PubSub
Kafka REST Proxy
Stdout
You can find instructions for how to enable this for all the destinations here.
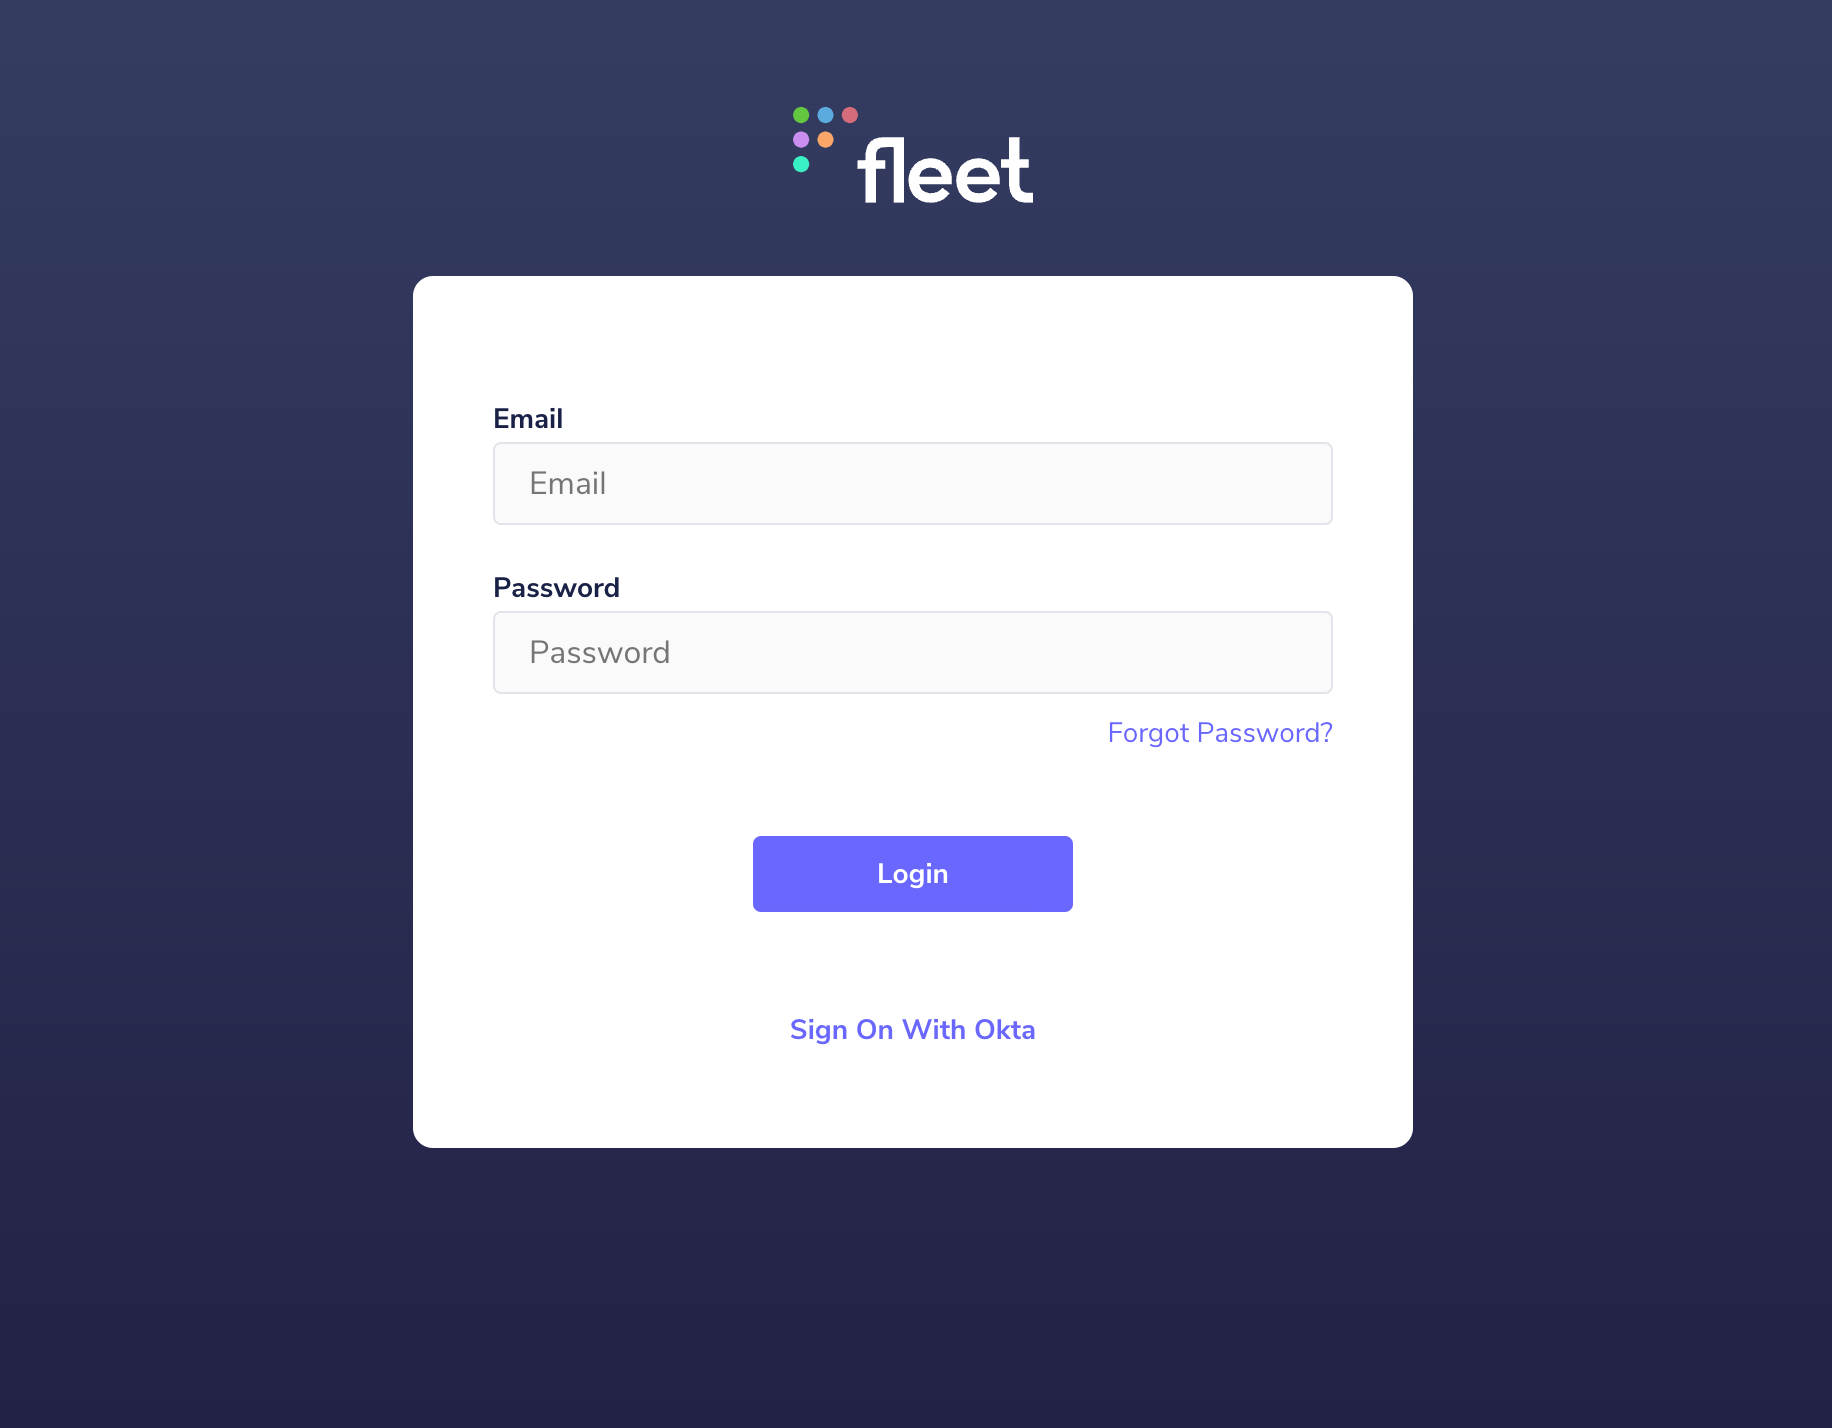
This is what your app will roughly look like once it’s up and running!

Closing Remarks
This was a first attempt of its kind in many ways so it wouldn’t have been possible without the support of many engineers across teams inside Segment as well as the developers at Fleet. Big shout out to the devs at Fleet and individuals on the Segment Engineering teams including, but not limited to, Infrastructure Engineering, Cloud Security, and Tooling for supporting me in this adventure.
We hope you found this guide useful. If so, please share it with your peers and friends. If you’d like to join us and build/implement cool technologies please check out Twilio Careers page for open roles across our Security teams.
Test drive Segment CDP today
It’s free to connect your data sources and destinations to the Segment CDP. Use one API to collect analytics data across any platform.
Get started
Test drive Segment CDP today
It’s free to connect your data sources and destinations to the Segment CDP. Use one API to collect analytics data across any platform.
Get started
Share article
Recommended articles
How to accelerate time-to-value with a personalized customer onboarding campaign
To help businesses reach time-to-value faster, this blog explores how tools like Twilio Segment can be used to customize onboarding to activate users immediately, optimize engagement with real-time audiences, and utilize NPS for deeper customer insights.
Introducing Segment Community: A central hub to connect, learn, share and innovate
Dive into Segment's vibrant customer community, where you can connect with peers, gain exclusive insights, and elevate your success with expert guidance and resources!
Using ClickHouse to count unique users at scale
By implementing semantic sharding and optimizing filtering and grouping with ClickHouse, we transformed query times from minutes to seconds, ensuring efficient handling of high-volume journeys in production while paving the way for future enhancements.