Building Technical Documentation with Metalsmith
Oct 20, 2015
By Andy Jiang
A little while ago we open-sourced a static site generator called Metalsmith. We built Metalsmith to be flexible enough that it could build blogs (like the one you’re reading now), knowledge bases, and most importantly our technical documentation.
Getting started with Metalsmith? Check out these resources or join us in Slack.
Using Metalsmith to build a simple blog is one thing, but building easy-to-maintain documentation isn’t as simple. There are different sections, libraries, various reusable code snippets and content that live in multiple places, and other stuff to consider. Metalsmith simplifies maintaining all of these moving parts and let’s us focus purely on creating helpful content. Here’s how we did it!
Metalsmith Basics
The first thing to know is that Metalsmith works by running a series of transformations on a directory of files. In the case of our docs, that directory is just a bunch of folders with Markdown files in them.
The directory structure mimics the URL structure:
And an individual Markdown file might look like this:
It’s structured this way because it makes the actual content easy to maintain. They are just regular folders with plain old Markdown files in them. That means that anyone on the team can easily edit the docs without any technical knowledge. You can even do it right form the GitHub editor:

So far so good. But how do just those simple Markdown files get transformed into our entire technical documentation? That’s where Metalsmith comes in. Like I mentioned earlier, Metalsmith is really just a series of transformations to run on the directory of Markdown files.
I’ll walk you through each of the transformations we use in order.
1. Partials
The first transformation we use is a custom plugin that takes all the files in a directory and exposes them as partials in Handlebars. That means we can keep content that we repeat a lot in a single place for easier maintenance.
For example, the Traits section of both our Identify page and our Group page is actually just the same partial injected in both places, like so:
2. Collections
The next transformation is a plugin that groups files together into “collections”. In our case, those collections are built into our sub-directories, so we have collections like: Libraries, Plugins, Tutorials, etc.
We also pass our own custom sorter function that will return the order specified in the array and append the remaining files pseudo-alphabetized.
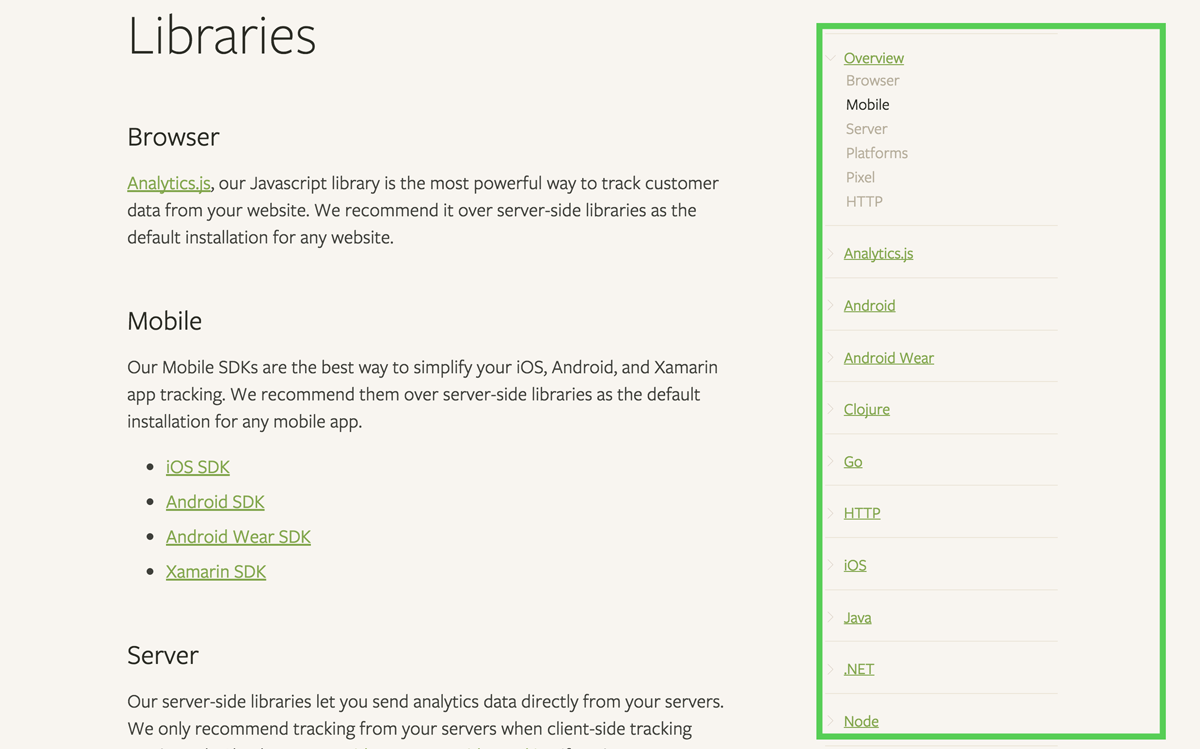
Having all of the collections grouped as simple arrays makes it easy for us to do things like automatically generate a top-level navigation to get to every collection:

Or to automatically generate a collection-level navigation for navigating between pages:

The plugin categorizes all files that fit the provided definition (in our case, providing file path patterns), adds a collection array to each file that contains the name of the collection, and finally adds a next and previous properties to files that points to the sibling file in the collection. This allows us to easily render collections later on with handlebars:
The key is that all of those pieces are automatically generated, so you never need to worry about remembering to link between pages.
Note that this plugin does not determine the final directory structure. By default, the directory structure is preserved from start to end, unless a plugin specifically modifies this.
3. Template, in place
The third transformation step is to template all of our Markdown files in placewith metalsmith-in-place. By that, I mean that we just run Handlebars over our Markdown files right where they are, so that we can take advantage of a bunch of helpers we’ve added.
For example, in any of our Markdown files we can use an api-example helper like so:
Which, will render a language-agnostic code snippet that remembers the user’s language preference:


You can find the above code snippet here.
4. Markdown
Then, we transform all of those Markdown files into HTML files with the metalsmith-markdown plugin. Pretty self-explanatory!
5. Headings
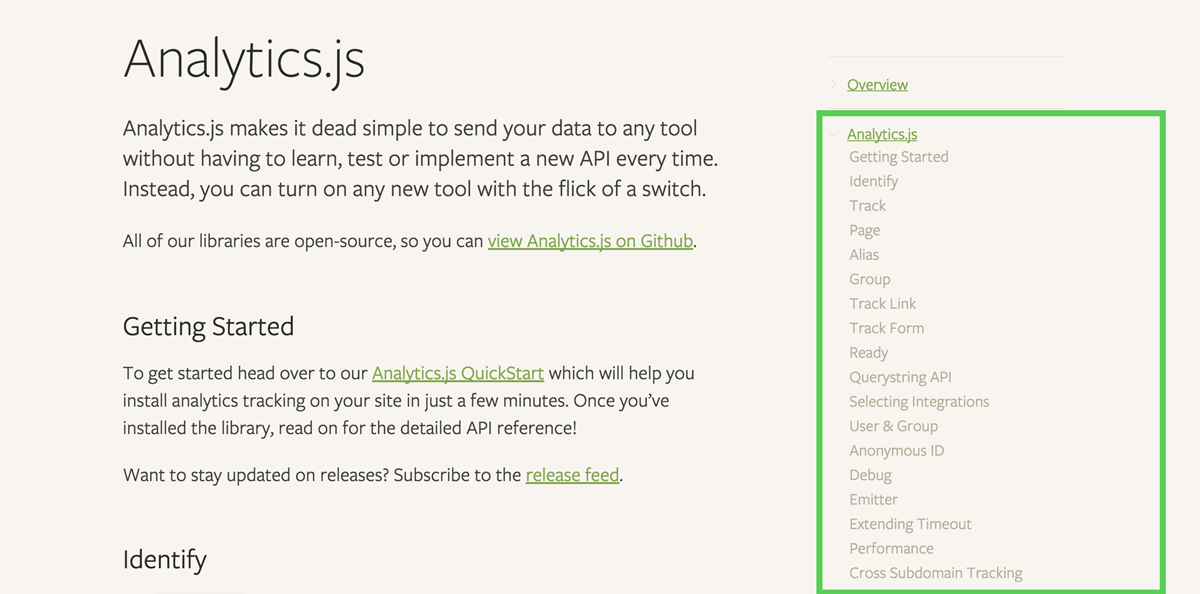
Now that we have all of our files as .html instead of .md, the next transformation is pretty simple using metalsmith-headings. It iterates over all of the files once more, extracting the text of all the <h2> tags and adding that array as metadata of the file. So you might end up with a file object that looks like this:
Why would we want to do that? Because it means we can build the navigation in the sidebar automatically from the content of the file itself:

So you never need to worry about remembering to update the navigation yourself.
6. Permalinks
The next step is to use the permalinks plugin to transform files so that all of the content lives in index.html files, so they can be served statically. For example, given a source directory like this:
The permalinks plugin would transform that into:
So that NGINX can serve those static files as:
7. Template, again!
The last step is to template all of our source files again (they’re not .md anymore, they’re all .html at this point) by rendering them into our top-level layout.
That layout.html file is where all of the navigation rendering logic is contained, and we just dump the contents of each of the pages that started as Markdown into the global template, like so:
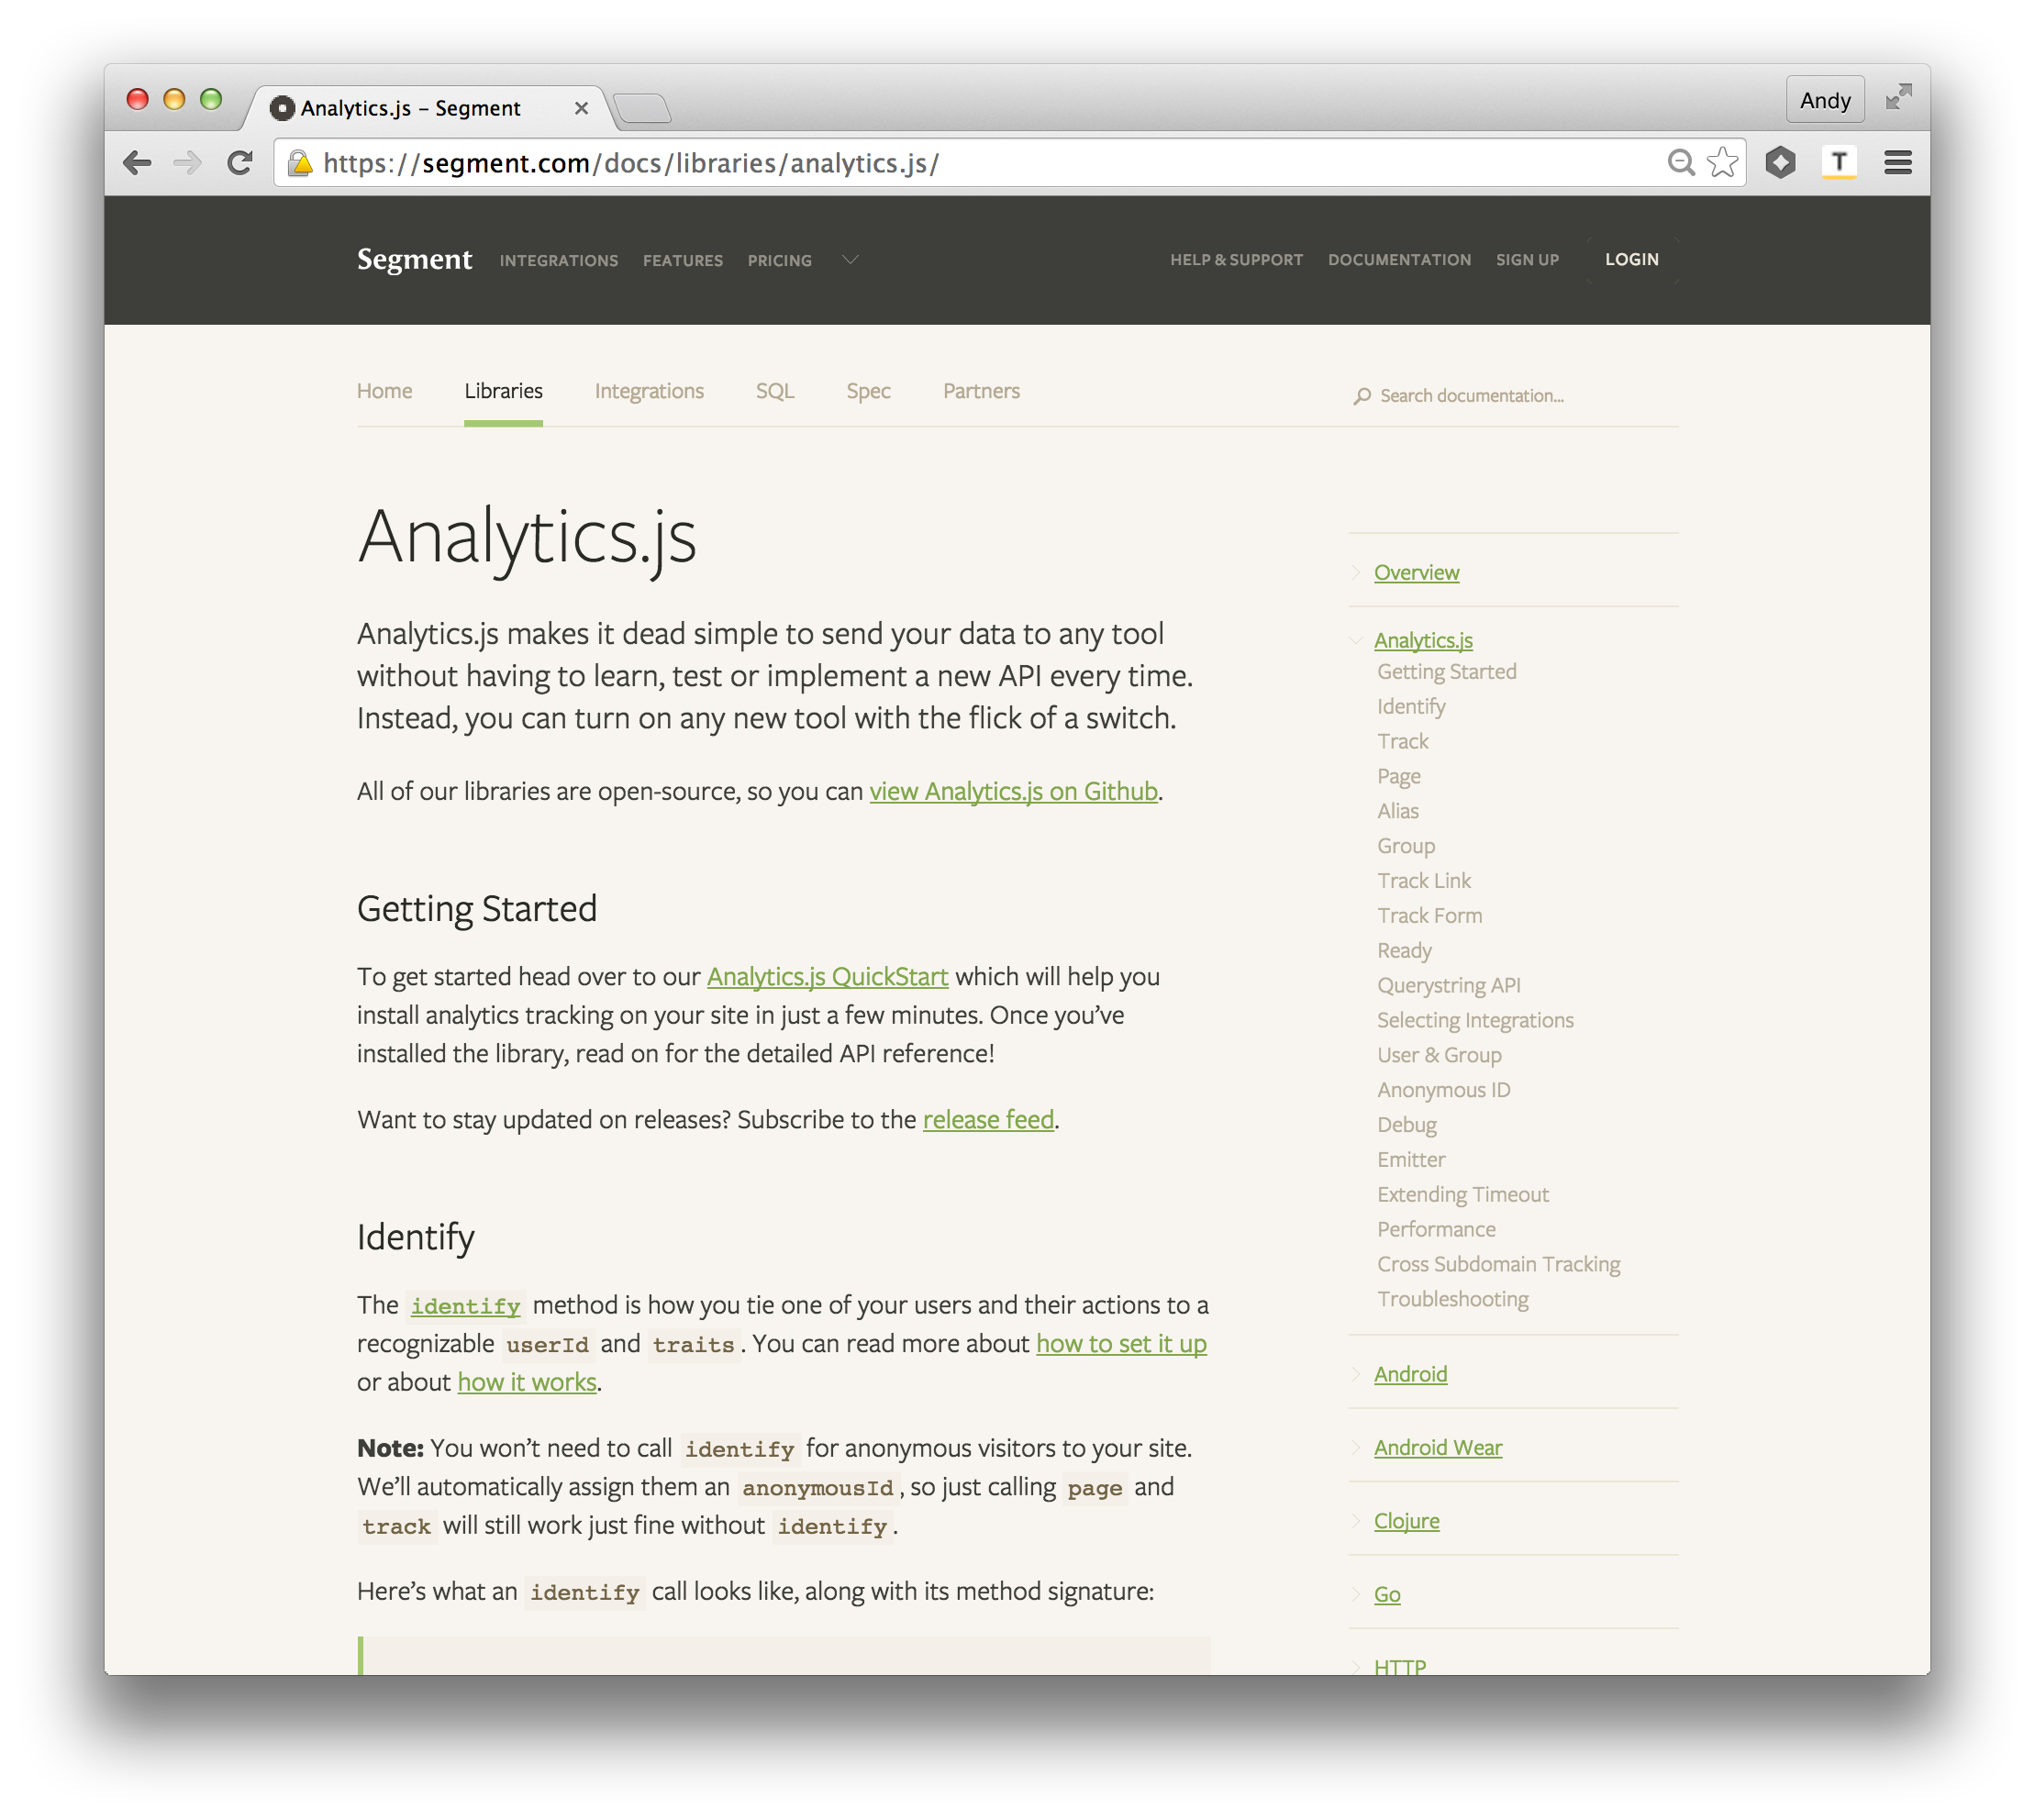
Once that’s done, we’re done! All of those files that started their life as simple Markdown have been run through a bunch of transformations. They now live as a bunch of static HTML files that each have automatically-generated navigations and sidebars (with active states too).

Deploy!
The last step is to deploy our documentation. This step isn’t to be forgotten, because our goal was to make our docs so simple to edit that everyone on the team can apply fixes as customers report problems.
To make our team as efficient as possible about shipping fixes and updates to our docs, we have our repo setup so that any branch merged to master will kick off CircleCI to build and publish to production. Anyone can then make edits in a separate branch, submit a PR, then merge to master, which will then automatically deploy the changes.
For the vast majority of text-only updates, this is perfect. Though, occasionally we may need more complex things.

For more information on the tech we use for our backend, check out Rebuilding Our Infrastructure with Docker, ECS, and Terraform.
Simple process, faster updates
Before we converted our docs to Metalsmith, they lived in a bunch of Jade files that were a pain in the butt to change. Because we had little incentive to edit them, we let typos run rampant and waited too long to fix misinformation. Obviously this was a bad situation for our customers.
Now that our docs are easy to edit in Markdown and quick to deploy, we fix problems much faster. The quickest way to fix docs issues is to make a permanent change, rather than repeat ourselves in ticket after ticket. With a simpler process, we’re able to serve our customers much better, and we hope you can too!
Using Metalsmith for any cool projects? Let us know! We’d love to check them out!
The State of Personalization 2023
Our annual look at how attitudes, preferences, and experiences with personalization have evolved over the past year.
Get the report
The State of Personalization 2023
Our annual look at how attitudes, preferences, and experiences with personalization have evolved over the past year.
Get the report
Share article
Recommended articles
How to accelerate time-to-value with a personalized customer onboarding campaign
To help businesses reach time-to-value faster, this blog explores how tools like Twilio Segment can be used to customize onboarding to activate users immediately, optimize engagement with real-time audiences, and utilize NPS for deeper customer insights.
Introducing Segment Community: A central hub to connect, learn, share and innovate
Dive into Segment's vibrant customer community, where you can connect with peers, gain exclusive insights, and elevate your success with expert guidance and resources!
Using ClickHouse to count unique users at scale
By implementing semantic sharding and optimizing filtering and grouping with ClickHouse, we transformed query times from minutes to seconds, ensuring efficient handling of high-volume journeys in production while paving the way for future enhancements.