Streamline compliance with Twilio Segment's end-user privacy tools
Jun 5, 2020
By Calvin French-Owen
This blog should not be construed as legal advice. Please discuss with your counsel what you need to do to comply with the GDPR, CCPA, and other similar laws.
Under the GDPR and CCPA, any company which serves users in the EU or users in California must allow its users to request that their data is either deleted or suppressed.
Deletion – all identifying info related to the user must be properly deleted.
Suppression – the user should be able to specify where their data is used and sent (e.g. for a marketing, advertising, or product use case).
When you get a deletion request, it doesn’t just mean deleting a few rows of data in your database. It’s your responsibility to purge data about your users from all of your tools – email, advertising, and push notifications.
Typically, this process is incredibly time-consuming. We have seen companies create custom JIRA workflows, in-depth checklists, and other manual work to comply with the law.
In this article we’ll show you how to automate and easily respect user privacy by:
Managing consent with our open source consent manager.
Issuing DSAR (Data Subject Access Requests) on behalf of your users.
Federating those requests to downstream tools.
Let's dive in.
Step 1: Set up a Javascript source and identify calls
If you haven’t already, you’ll want to be sure you have a source data setup on your website, and collecting your user data through Segment.
The easiest way to do this is via our Javascript, and analytics.identify calls.
// when a user first logs in, identify them with name and email
    analytics.identify('my-user-id', {
      email: 'jkim@email.com',
      firstName: 'Jane',
      lastName: 'Kim'
    })
Generally, we recommend you first:
Generate user ID in your database – a user ID should never change! It’s best to generate these in your database, so they can stay constant even if a user changes their email address. We’ll handle anonymous IDs automatically.
Collect the traits you have – you don’t have to worry about collecting all traits with every call. We’ll automatically merge them for you, so just collect what you have.
Start with messaging – if you’re trying to come up with a list of traits to collect, start with email personalization. Most customers start by collecting email, first and last name, age, phone, role, and company info so they can send personalized emails or push notifications.
Once you’ve collected data, you’re ready to start your compliance efforts.
Step 2: Enable the open-source consent manager
Giving users the ability to control what personal data is collected is a huge part of any privacy compliance regime.
We’ve built an open source drop-in consent manager that automatically works with Analytics.js.
Adding it in is straightforward.
Updating the snippet
First, you’ll want to remove the two lines from your analytics.js snippet.
analytics.load("<Your Write Key") // <-- delete meanalytics.page() // <-- delete me
These will automatically be called by the consent manager.
Add in your config
We’ve included some boilerplate configuration, which dictates when the consent manager is shown and what the text looks like. You’ll want to add this somewhere and customize it to your liking.
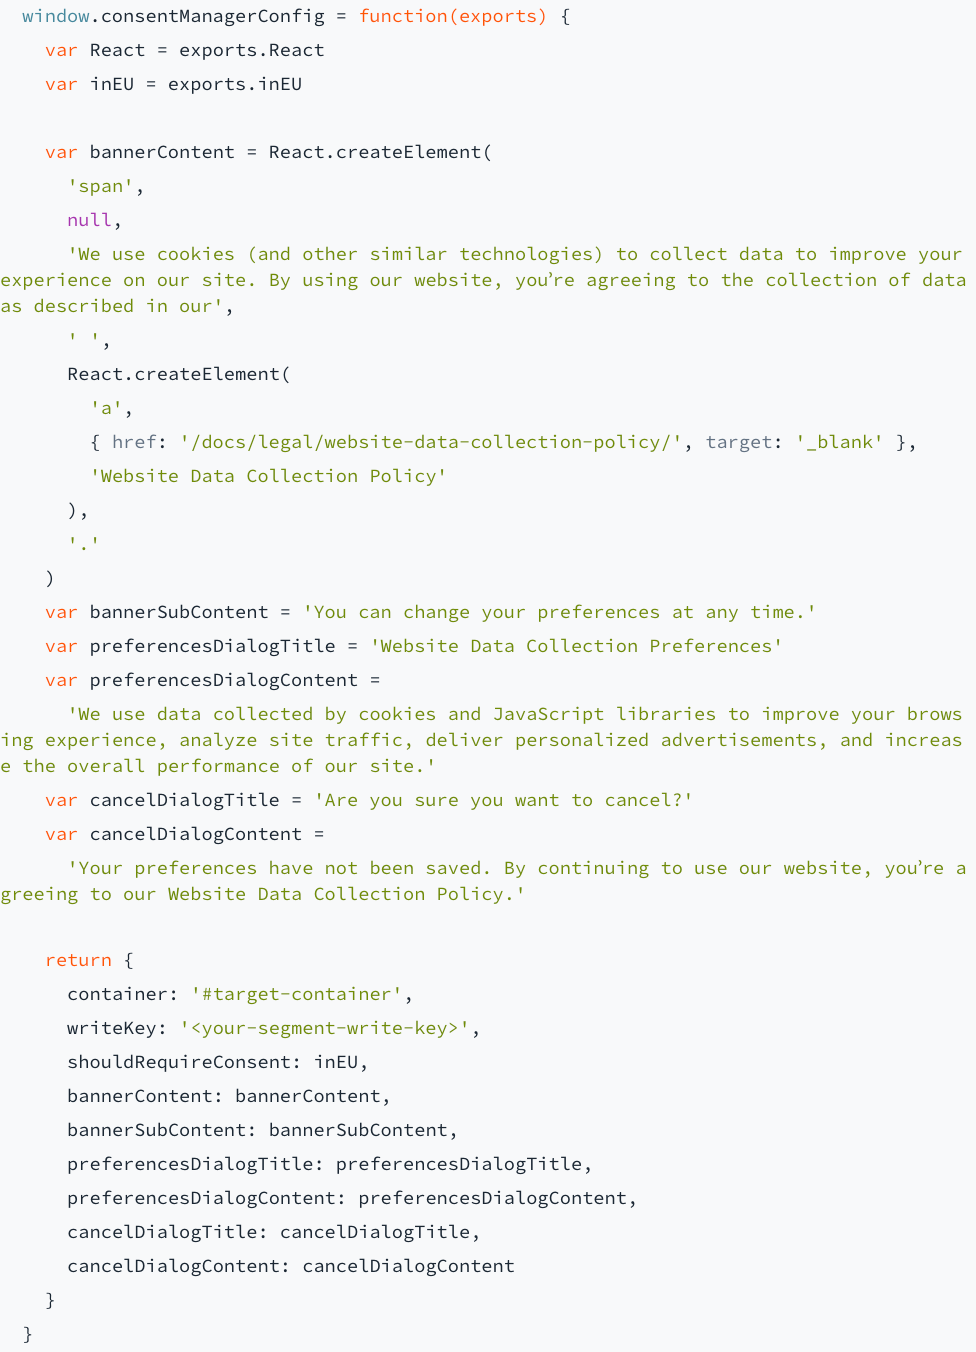
You’ll also want to add a target container for the manager to load. <div id="target-container"></div>
You can and should also customize this to your liking.
Load the consent manager
Finally, we’re ready to load the consent manager.
<script src="https://unpkg.com/@segment/consent-manager@5.0.0/standalone/consent-manager.js" defer></script>
Once you’re done, it should look like this.
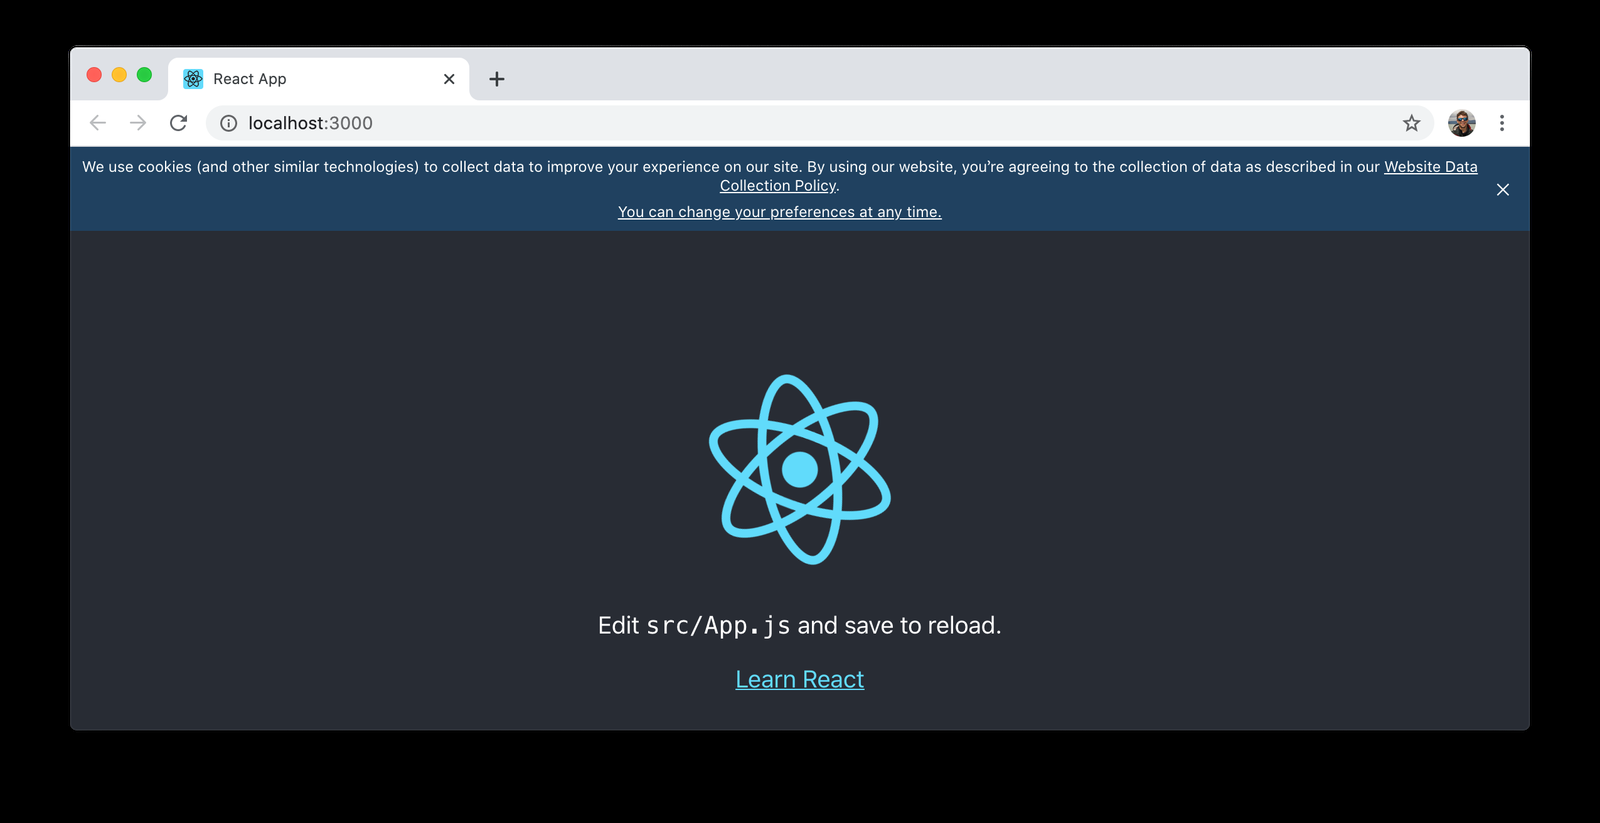
Great, now we can let users manage their preferences! They can opt-in to all data collection, or just the portion they want to.
Step 3: Collecting deletion requests
Now it’s time to allow users to delete their data. The simplest way to do this is to start an Airtable sheet to keep track of user requests, and then create a form from it.
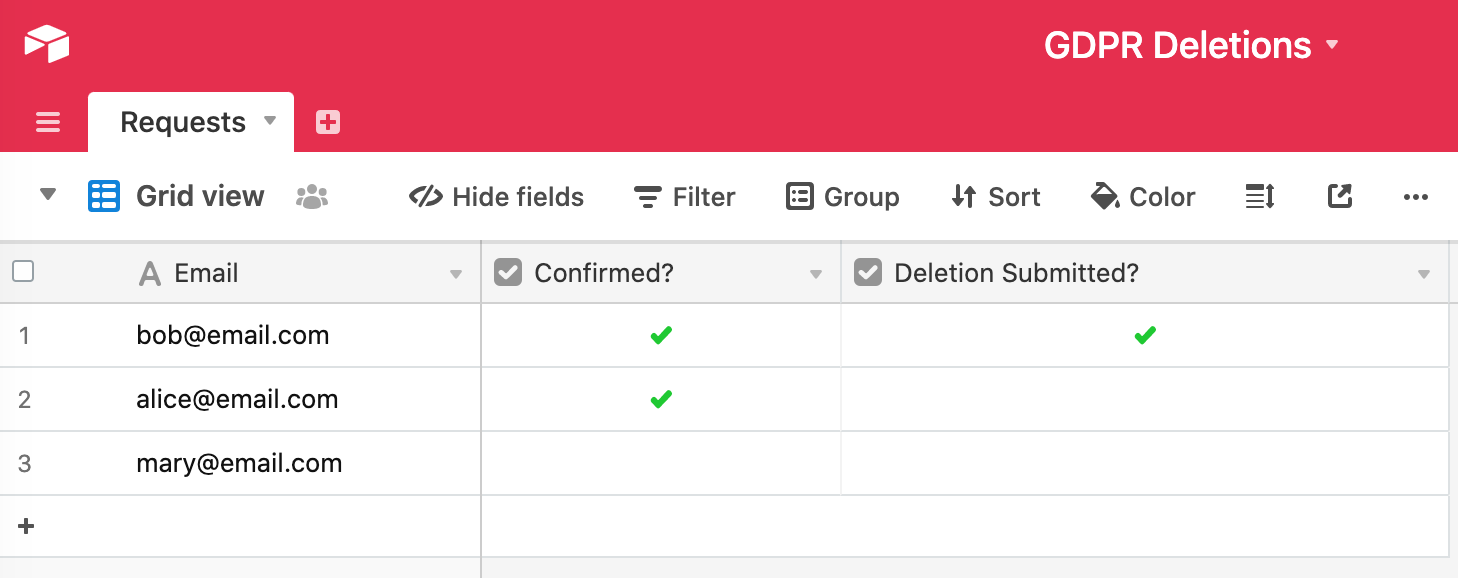
At a minimum, you’ll want to have columns for:
The user identifier – either an email or user ID.
A confirmation if your page is public (making sure the user was authenticated).
A checkbox indicating that the deletion was submitted.
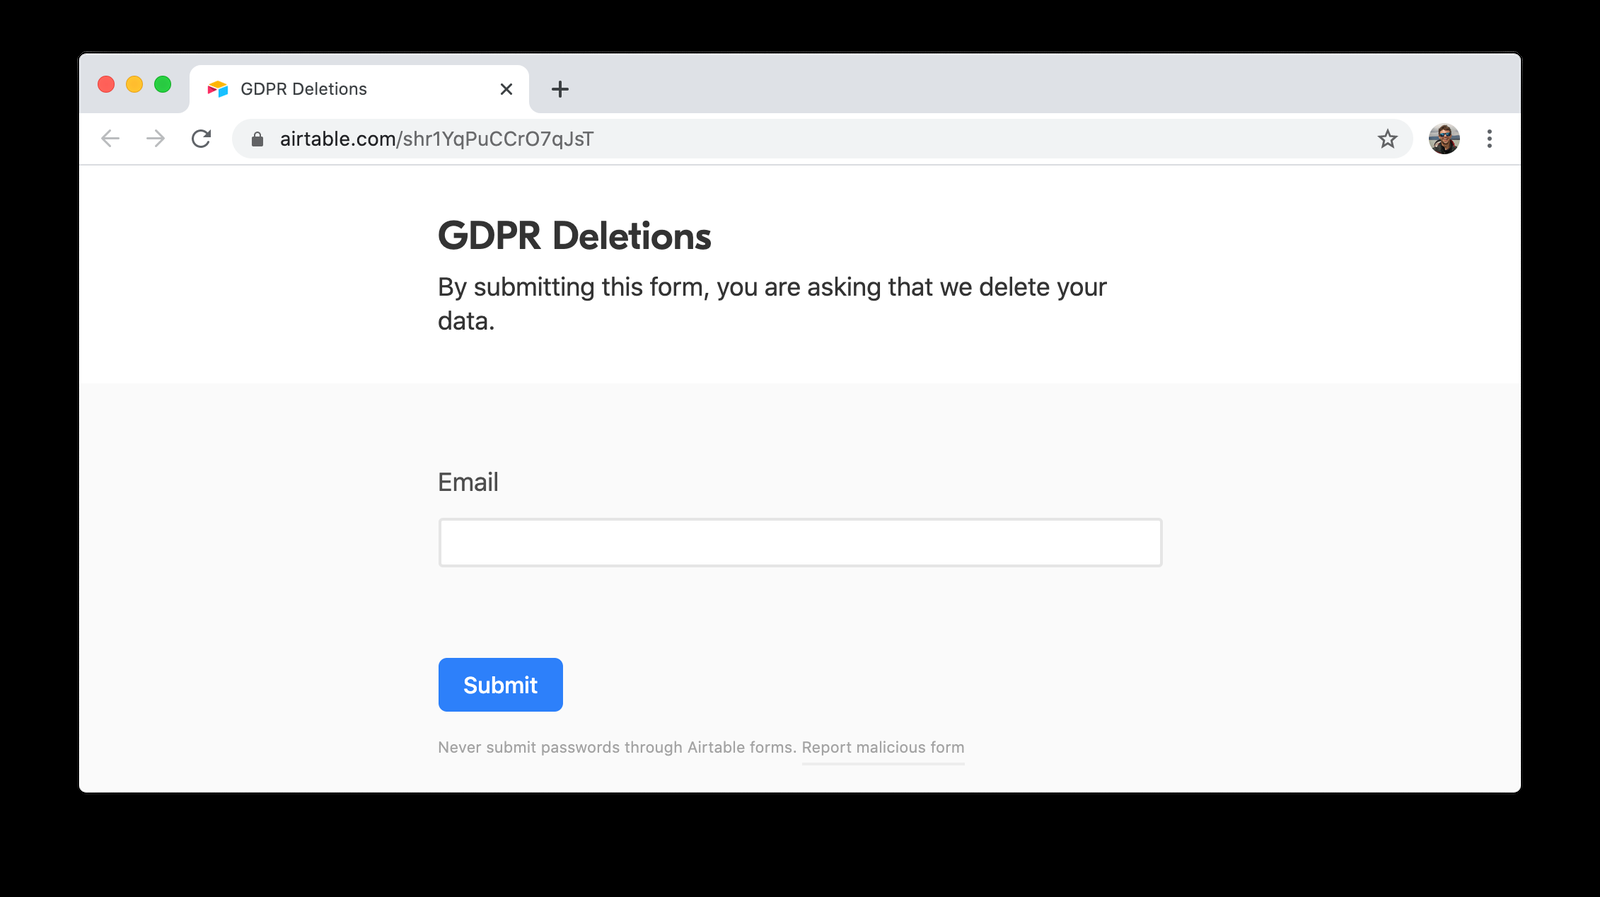
From there, we can automatically turn it into an Airtable form to collect this data.
To automate this you can use our GDPR Deletion APIs. You can automatically script these so that you don’t need to worry about public form submissions. We’ve done this internally at Segment.
Tip: Make sure deletions are guarded by some sort of confirmation step, or only accessible when the user is logged in.
Step 4: Issuing deletions and receipts
Now we’re ready to put it all together. We can issue deletion requests within Segment for individual users.
This will remove user records from:
Segment archives
Your warehouses and data lakes
Downstream destinations that support deletion
To do so, simply go to the deletion manager under Workspace Settings > End User Privacy.

This will allow you to make a new request by ID.
Simply select “New Request”, and enter the user ID from your database.
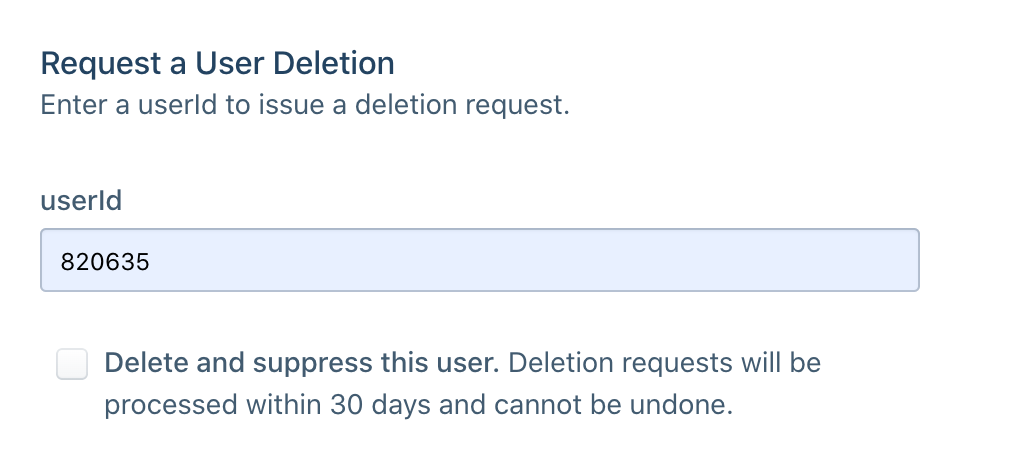
This will automatically kick off deletions in any end tools which support them. You’ll see receipts in Segment indicating that these deletions went through.
As your different destinations begin processing this data, they will send you notifications as well.
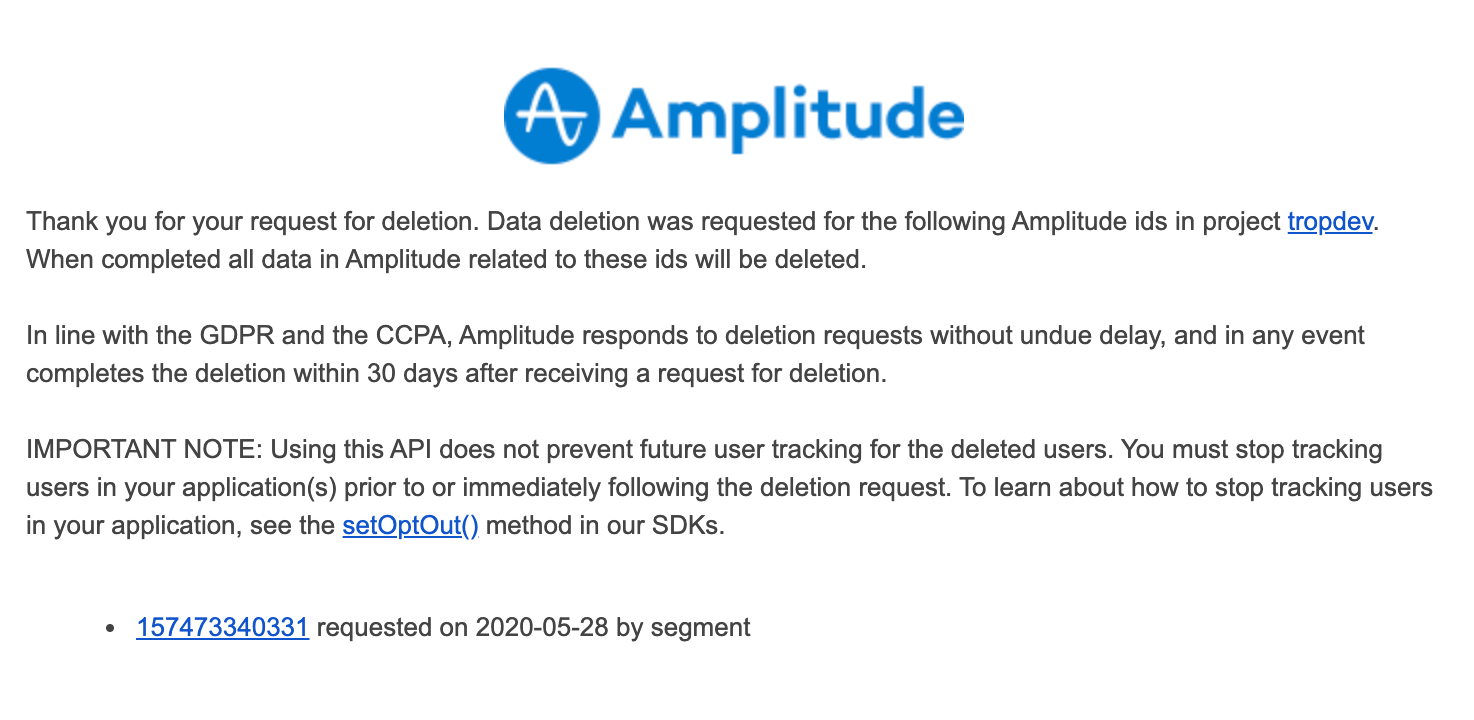
And just like that, we’ve built deletion and suppression into our pipeline, all with minimal work!
Wrapping up
Here’s what we’ve accomplished in this article. We’ve:
Collected our user data thoughtfully and responsibly by asking for consent with the Segment open source consent manager.
Accepted deletion requests via Airtable or the Segment deletion API.
Automated that deletion in downstream tools with the deletion requests.
Try this recipe for yourself...
Get help implementing this use case by talking with a Segment Team member or by signing up for a free Segment workspace here.
The State of Personalization 2023
Our annual look at how attitudes, preferences, and experiences with personalization have evolved over the past year.
Get the report
The State of Personalization 2023
Our annual look at how attitudes, preferences, and experiences with personalization have evolved over the past year.
Get the report
Share article
Recommended articles
How to accelerate time-to-value with a personalized customer onboarding campaign
To help businesses reach time-to-value faster, this blog explores how tools like Twilio Segment can be used to customize onboarding to activate users immediately, optimize engagement with real-time audiences, and utilize NPS for deeper customer insights.
Introducing Segment Community: A central hub to connect, learn, share and innovate
Dive into Segment's vibrant customer community, where you can connect with peers, gain exclusive insights, and elevate your success with expert guidance and resources!
Using ClickHouse to count unique users at scale
By implementing semantic sharding and optimizing filtering and grouping with ClickHouse, we transformed query times from minutes to seconds, ensuring efficient handling of high-volume journeys in production while paving the way for future enhancements.